How to use eSIM?
How do i install and setup an eSIM on my iOS device?
How to Install and Set Up an eSIM on iOS
To ensure a smooth setup, please check the following before installation:
- Your iPhone is eSIM-compatible and network unlocked. (See: What devices support eSIM? and How do I check if my iOS device supports eSIM? )
- You have a stable internet connection, preferably Wi-Fi — required to download and activate your eSIM.
- You are logged in to your esimzon account and have access to your eSIM details.
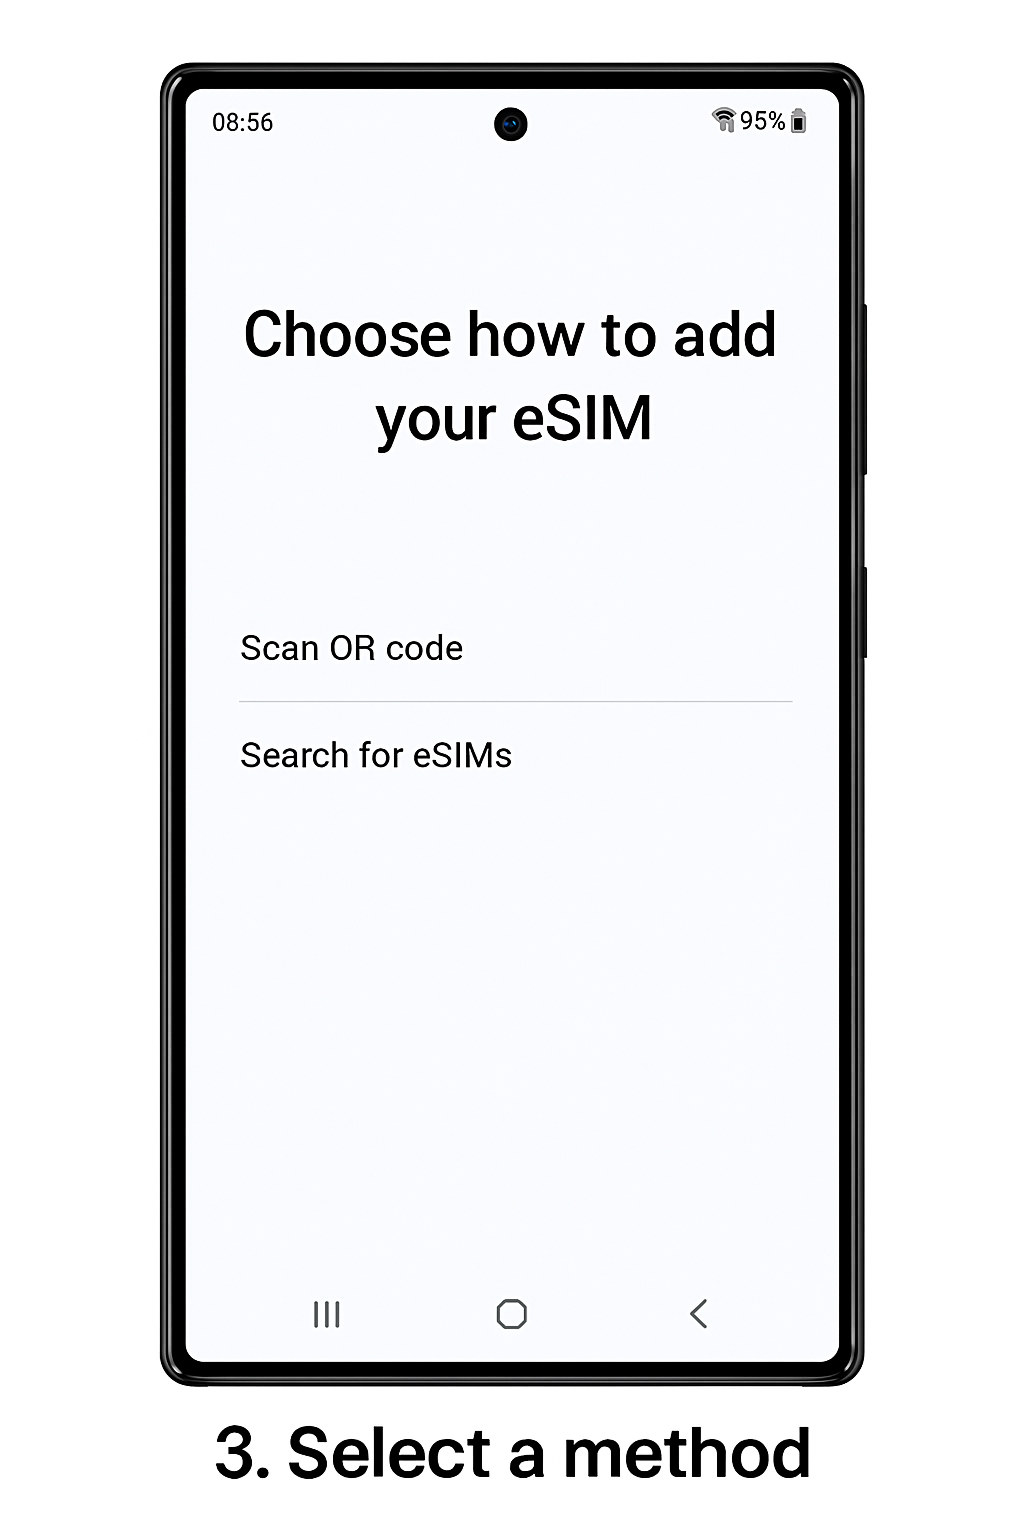
There are 2 ways of installing an eSIM on your device:
- QR Code method
- Manual method
This article will guide you through both QR code and Manual methods.
Preparation
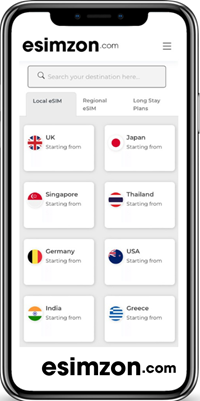
- 1. Login to your esimzon account
- 2. Go to My eSIMs
- 3. Look for the eSIM you want to install
- 4. Tap Install eSIM/Access Data
- 5. Tap the Manual tab at the top
- 6. You should be able to see SM-DP + Address & Activation code. Take note of this or keep this page open so you can copy the details later
Installation
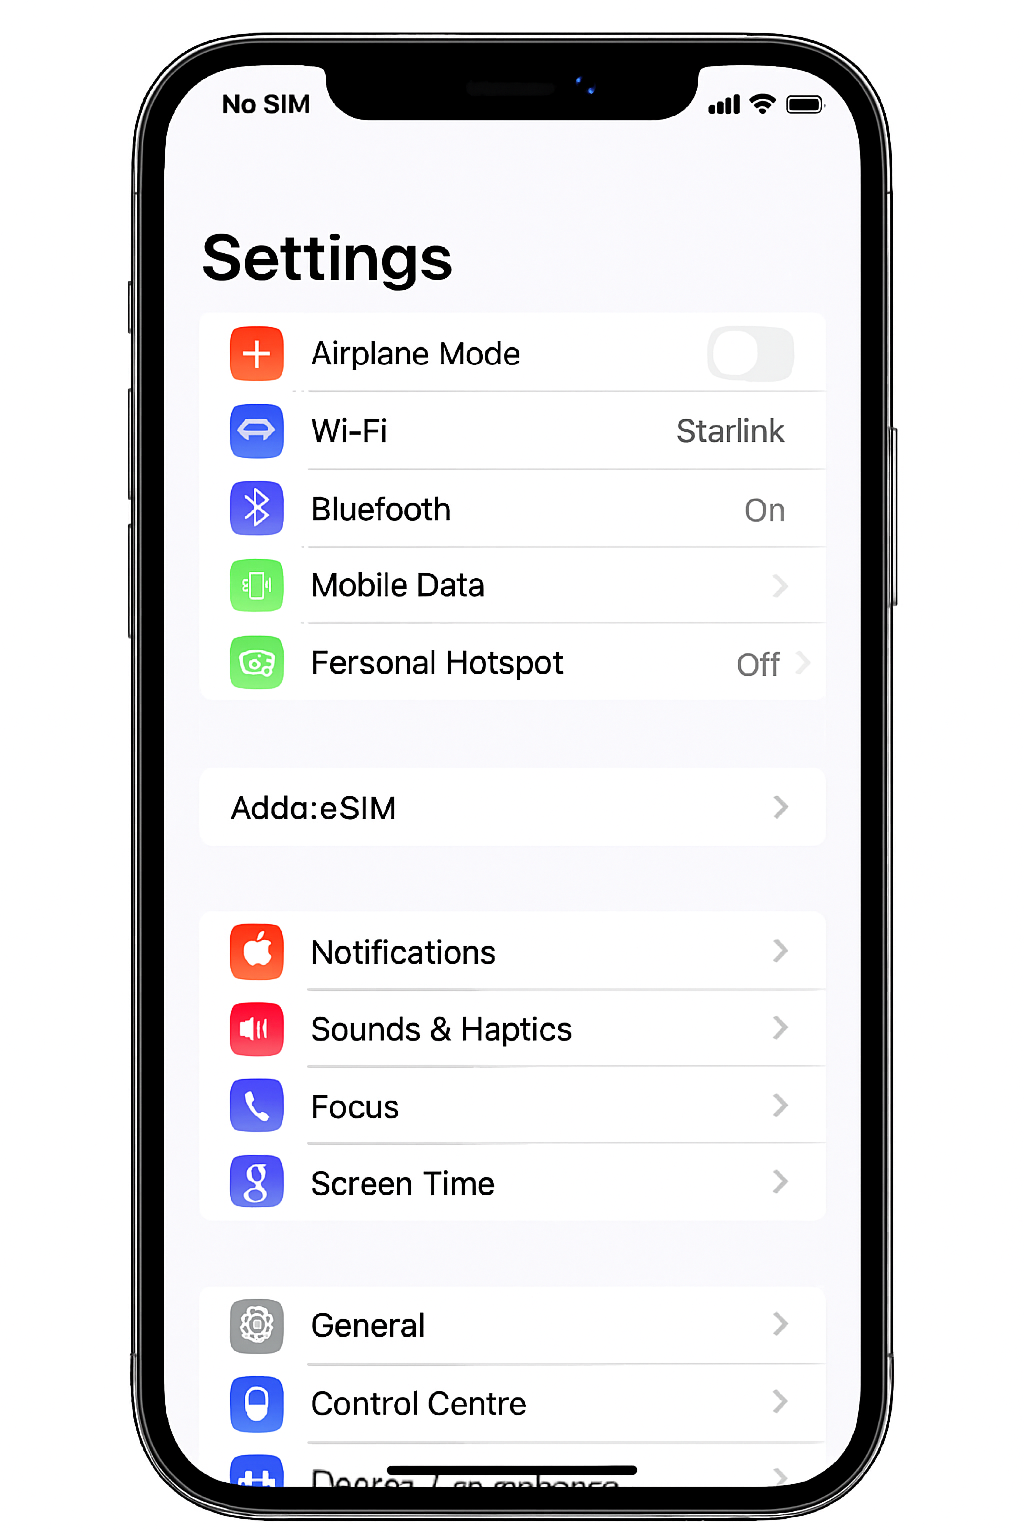
- Open Settings on your phone
- Tap on Cellular or Mobile Data
- Select Add Cellular Plan or Add Mobile Data Plan
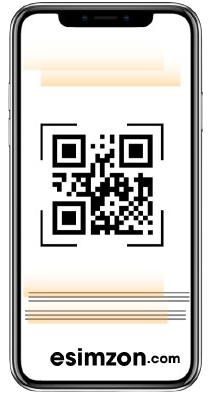
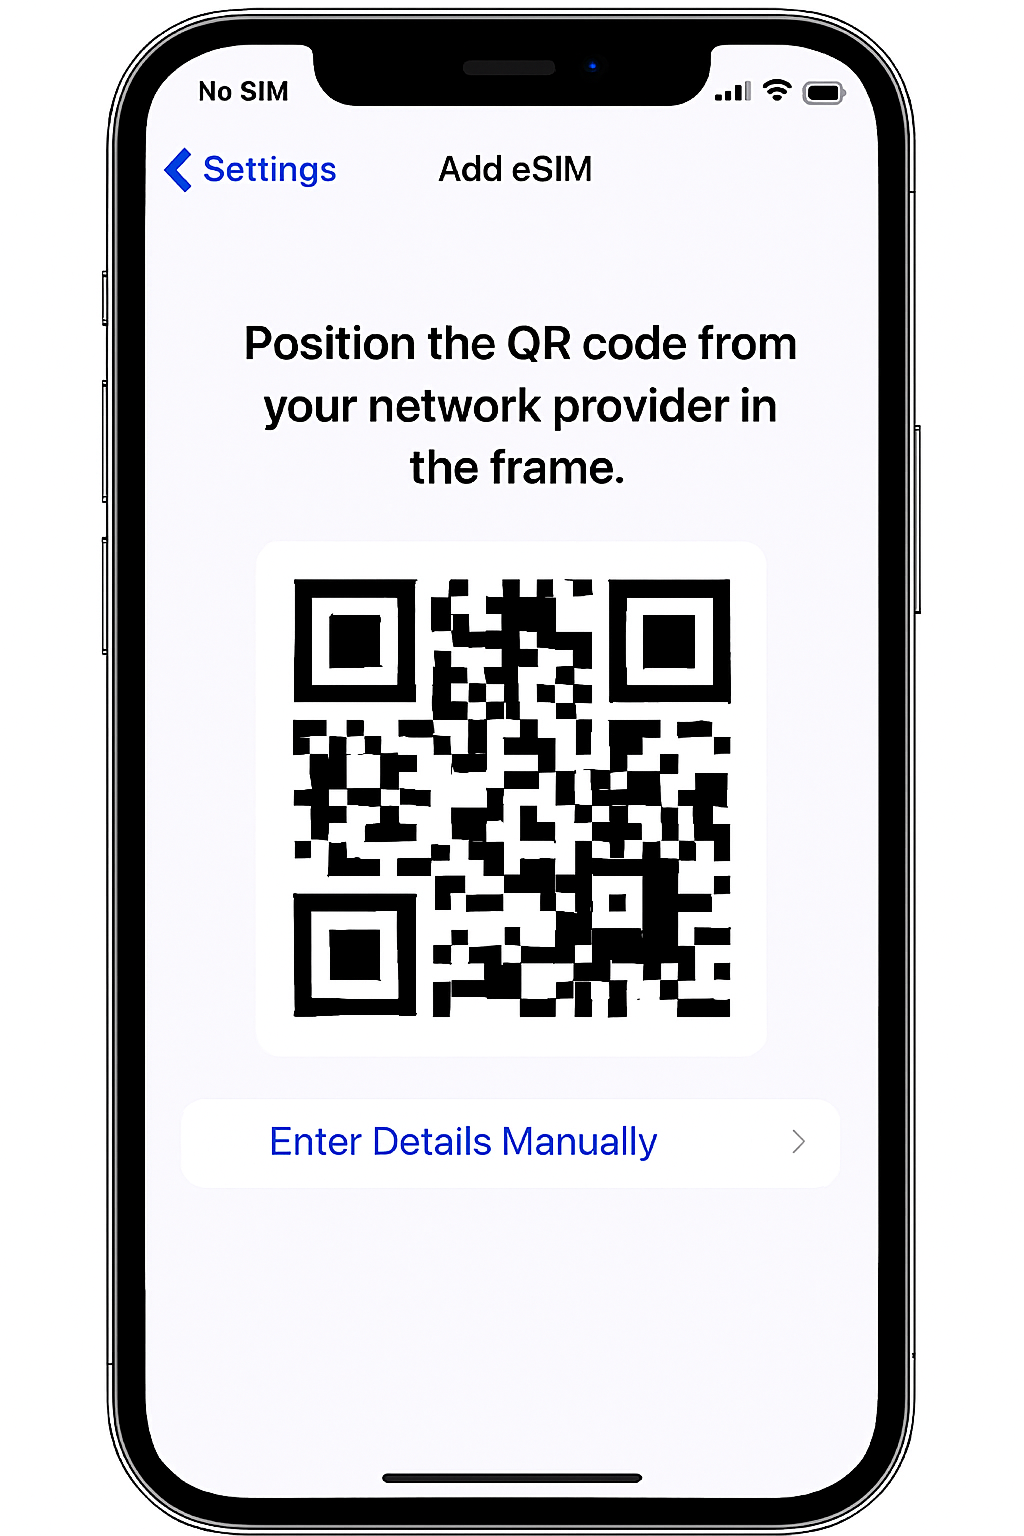
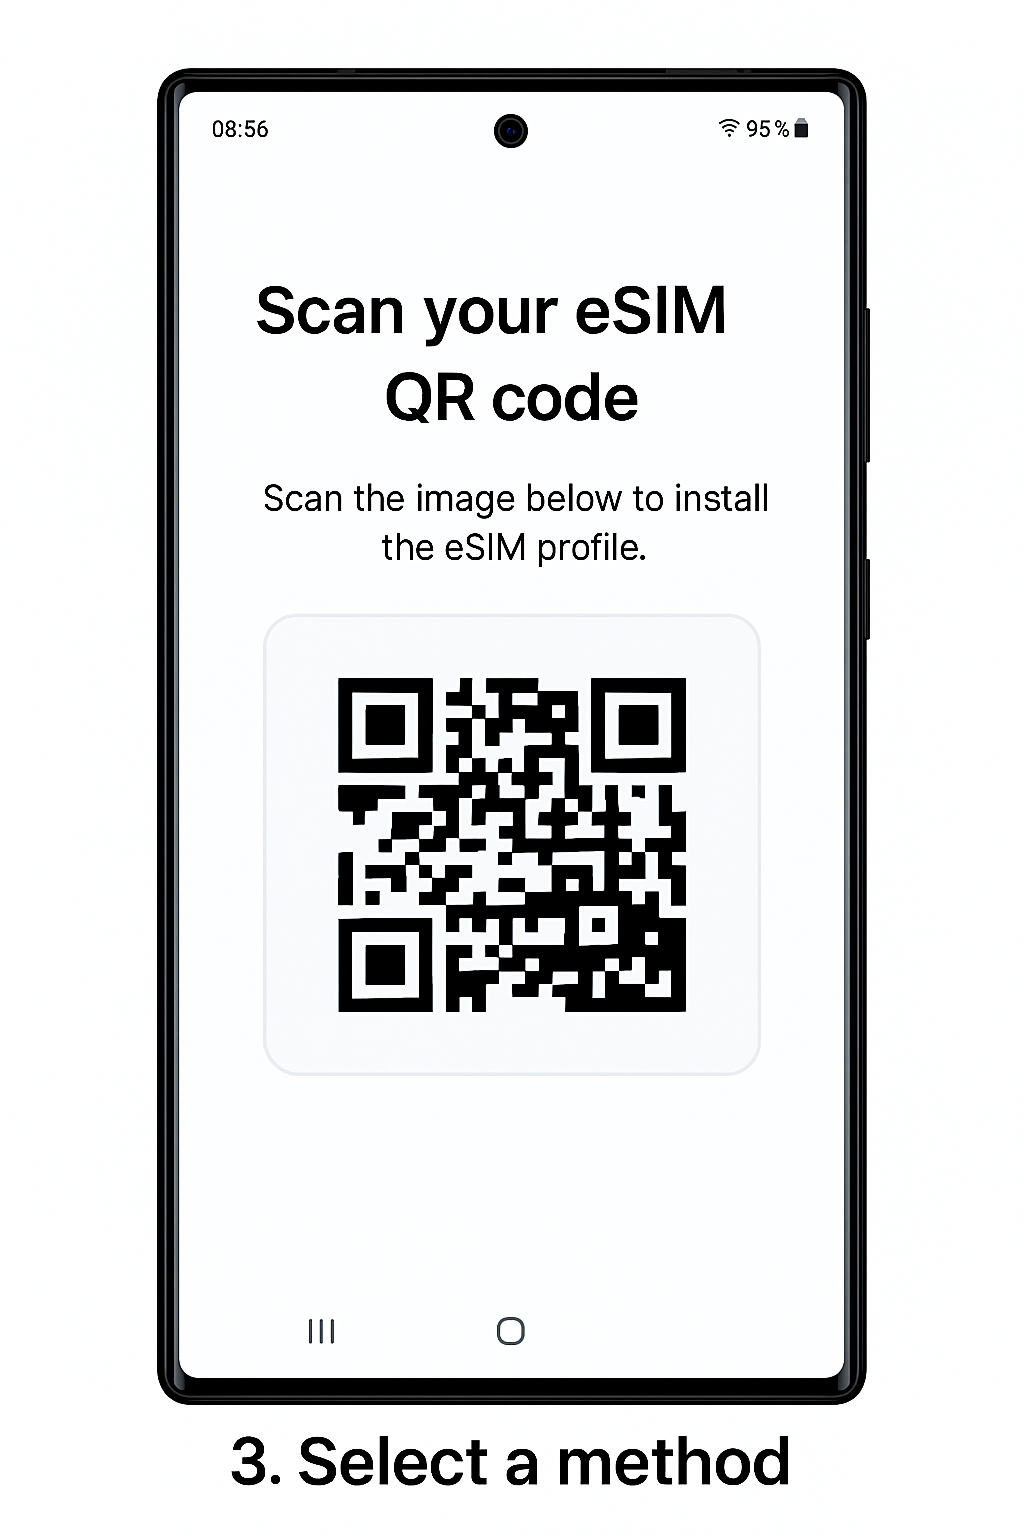
- Use your phone to scan the QR code (either printed or displayed on another device).
- If asked, enter the 4-digit confirmation code. If you don't have one, you can skip this step.
- Choose a name or label for your new eSIM (e.g. "Travel Plan").
- When asked about Default Line, select your eSIM for data only.
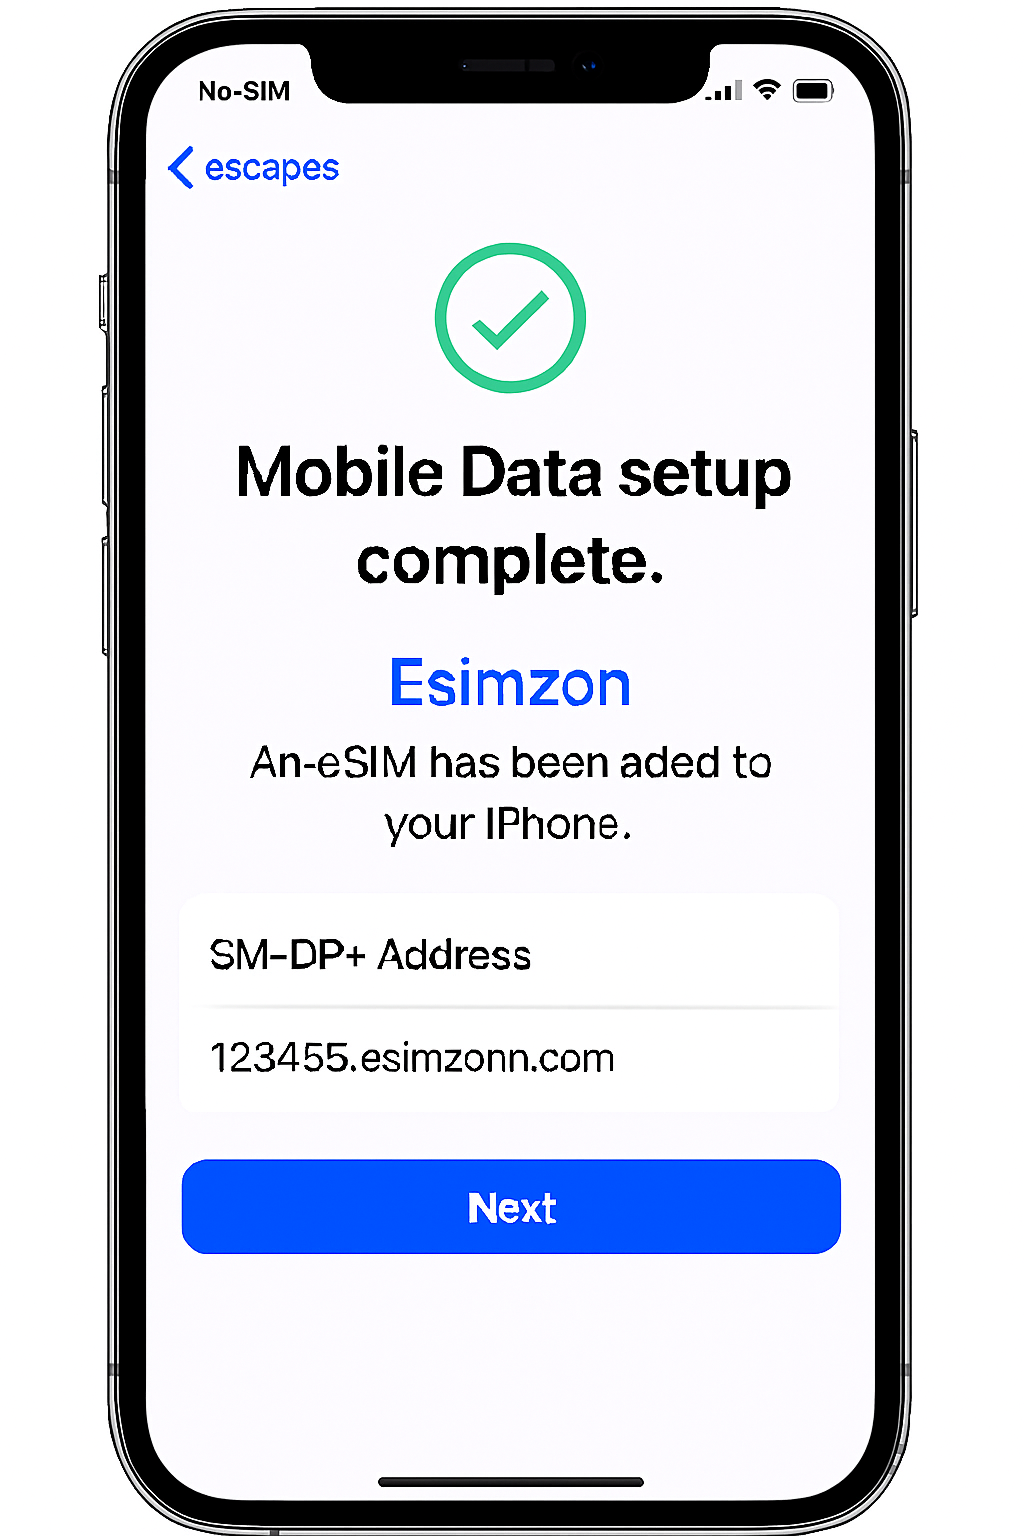
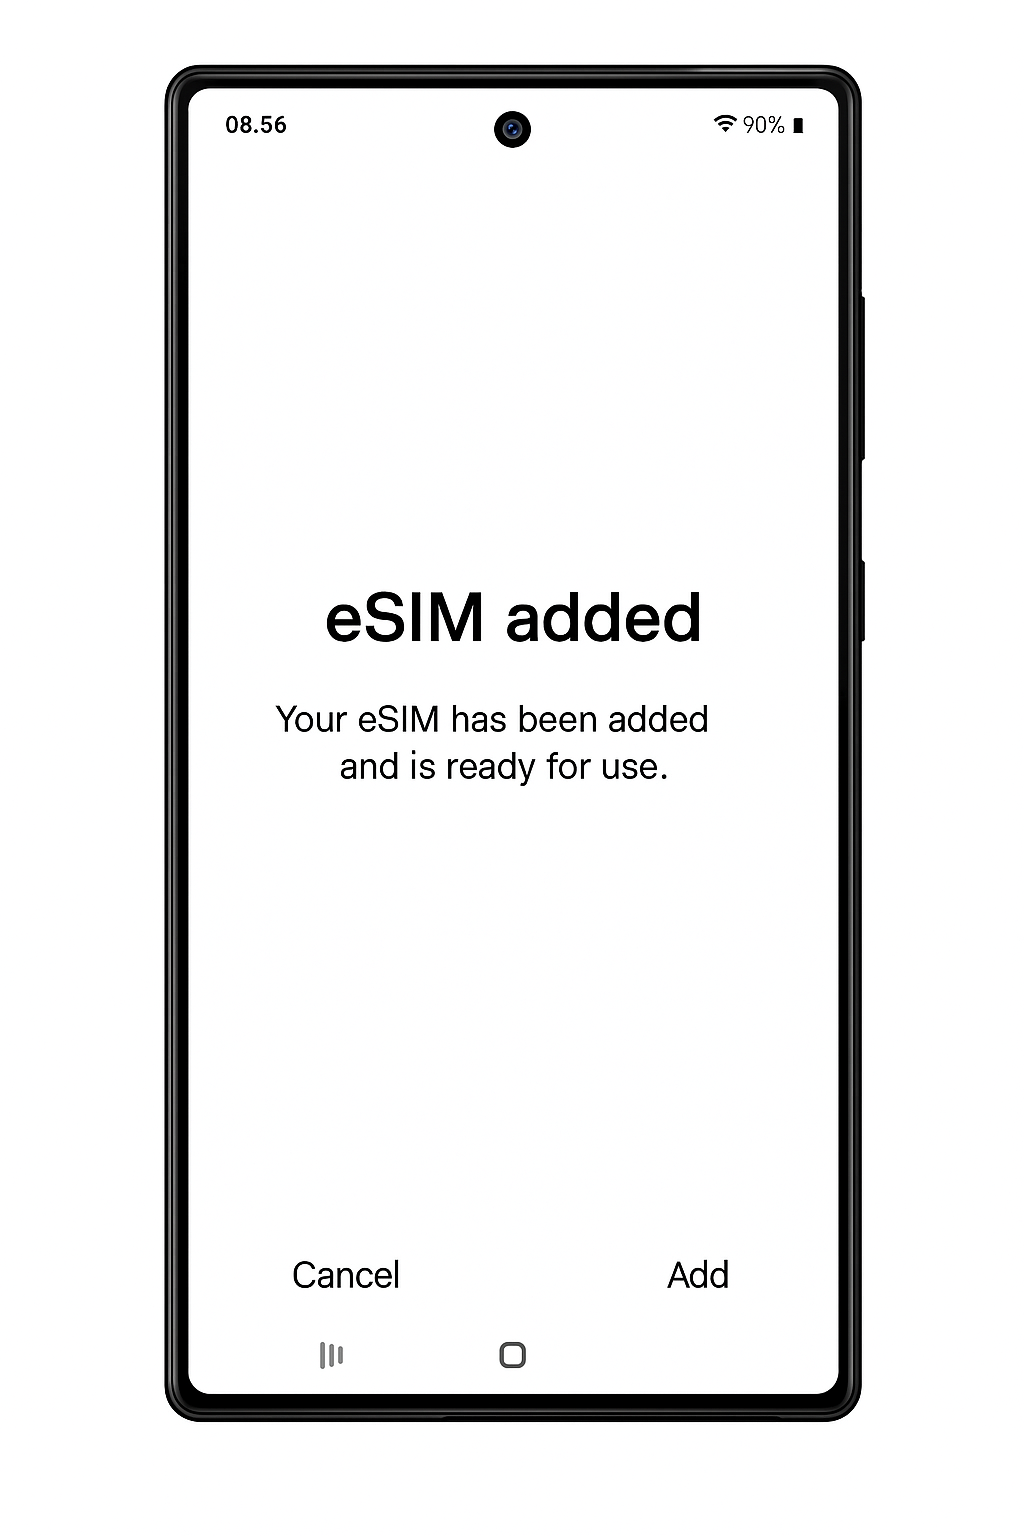
- Your new eSIM should now appear under Cellular Plans or Mobile Data Plans.
QR Code Method
- Open Settings on your device.
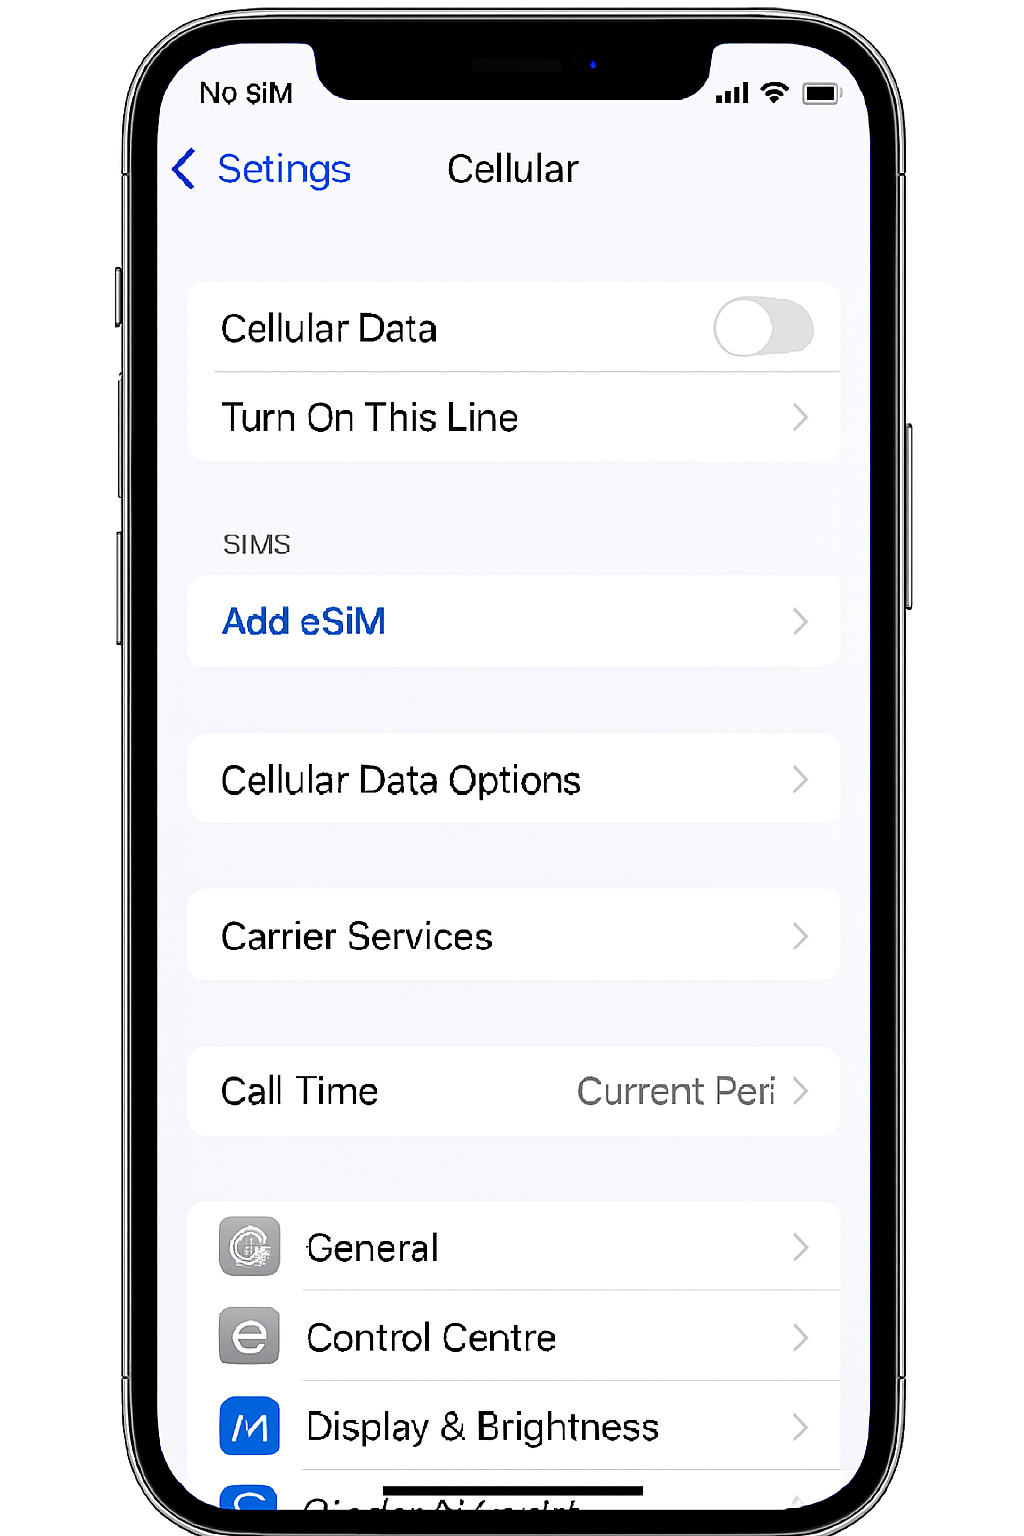
- Tap Cellular or Mobile Data.
- Tap Add Cellular Plan or Add Mobile Data Plan.
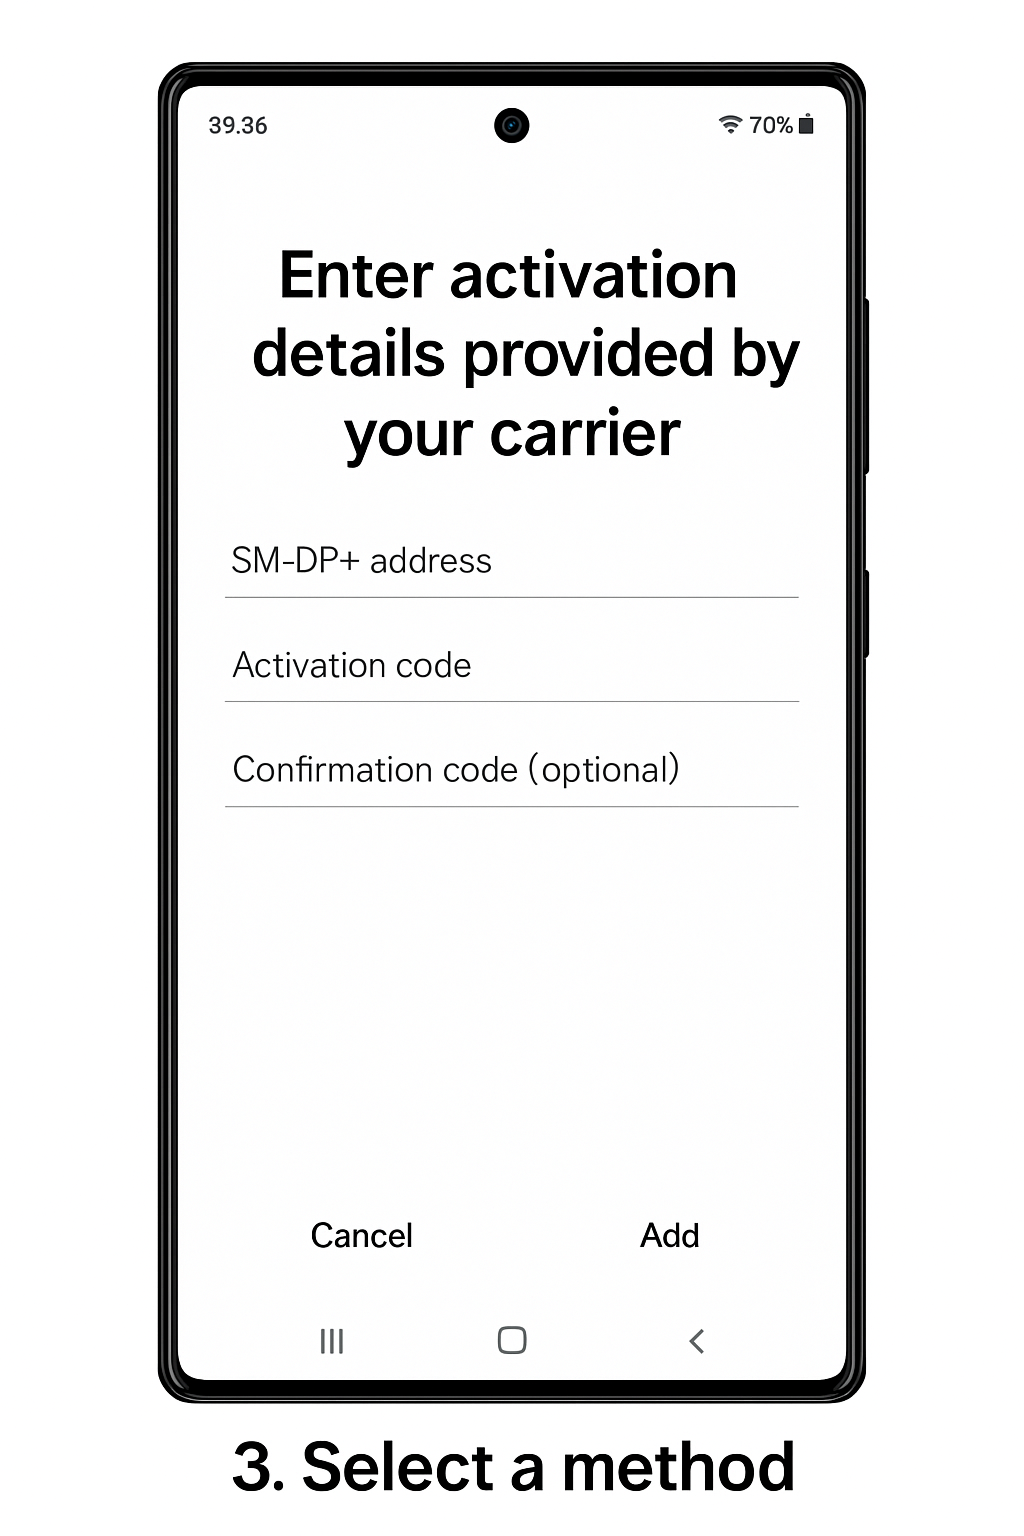
- Choose Enter Details Manually.
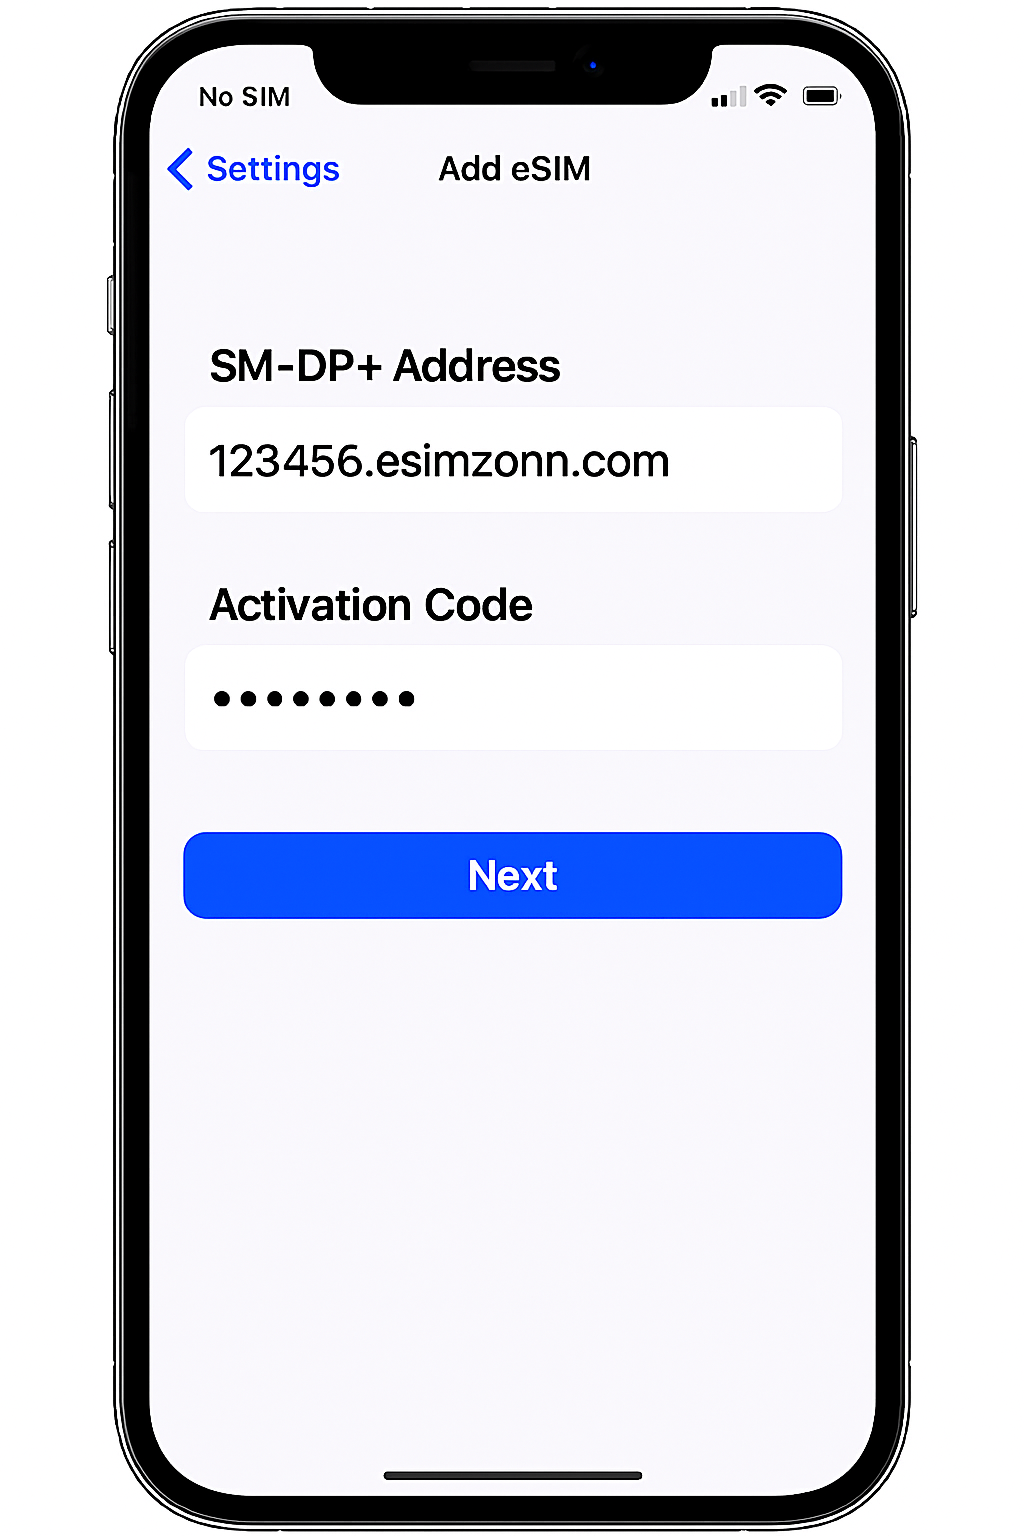
You will be prompted to enter the following:- SM-DP+ Address
- Activation Code
- Confirmation Code (if provided in your esimzon account)
- Create a label for your new eSIM (e.g. "Trip to Europe").
- On the Default Line screen, select your eSIM for cellular data only.
- Once added, your new eSIM will appear under Cellular Data or Mobile Data Plans.
Manual Method
How do I access the internet using an esimzon eSIM on a Samsung Galaxy device?
If you encounter difficulties connecting your esimzon eSIM to the internet on a Samsung Galaxy device after installation, please ensure that you have completed the Access Data steps for your eSIM. You can find them in your esimzon account:
- OPEN the esimzon app.
- TAP My eSIMs.
- TAP the eSIM you want to install.
- TAP View Instructions.
- LOOK for Access Data instructions.
Before proceeding with the following steps, confirm that the eSIM line is ENABLED and selected for mobile data.
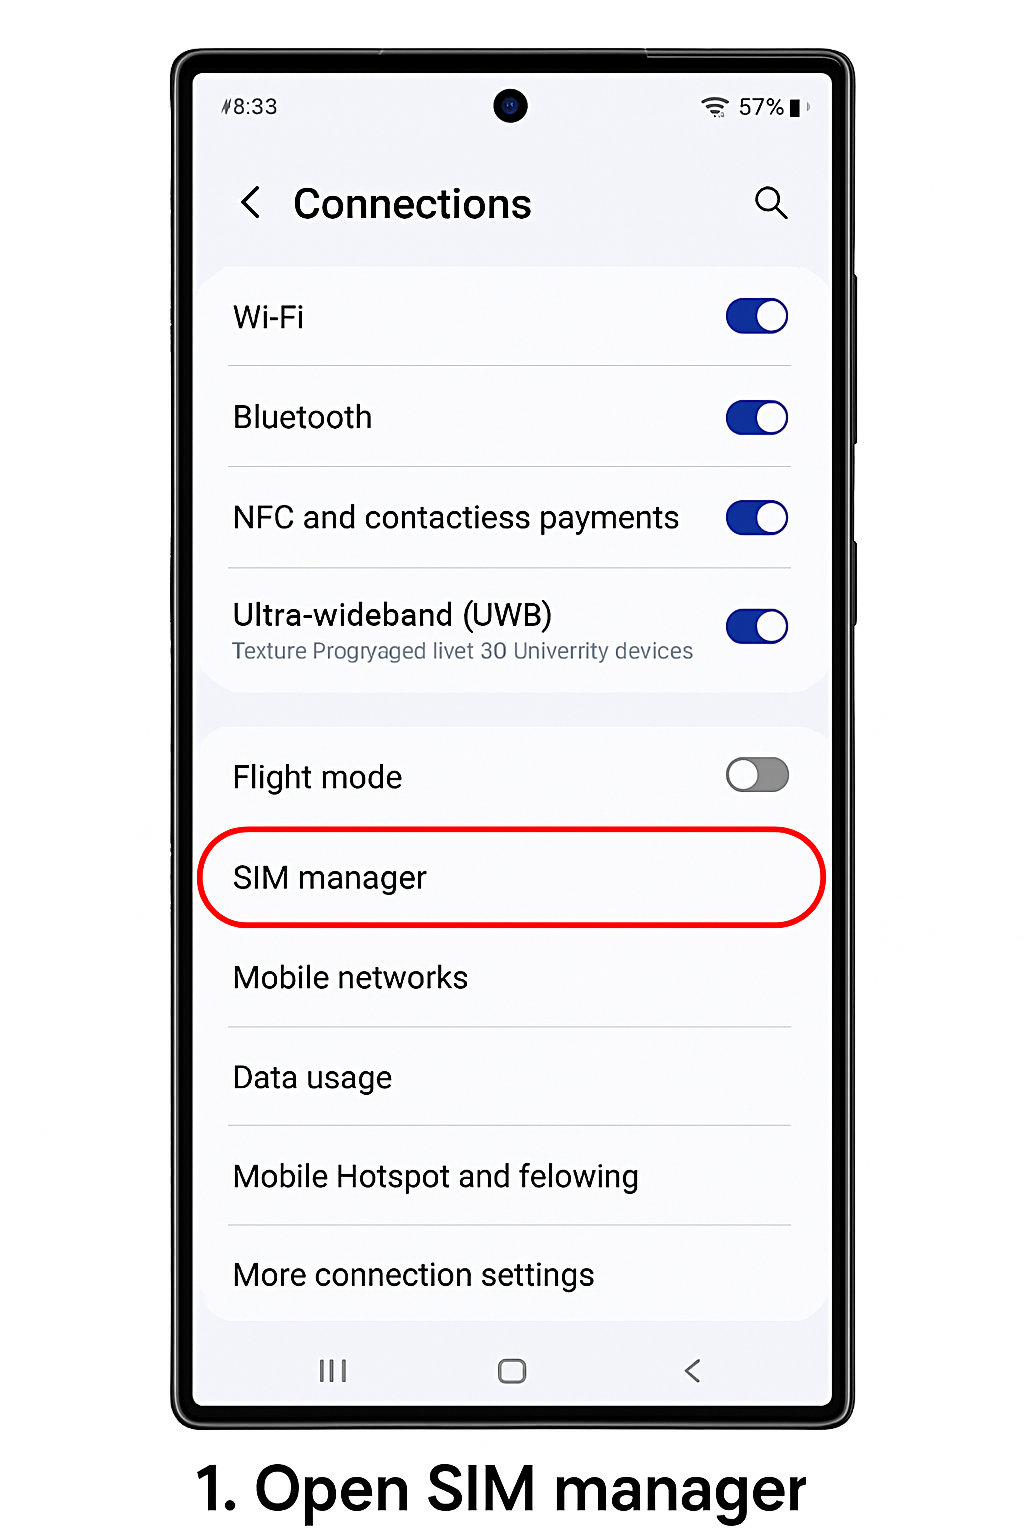
- GO to Settings.
- TAP Connections.
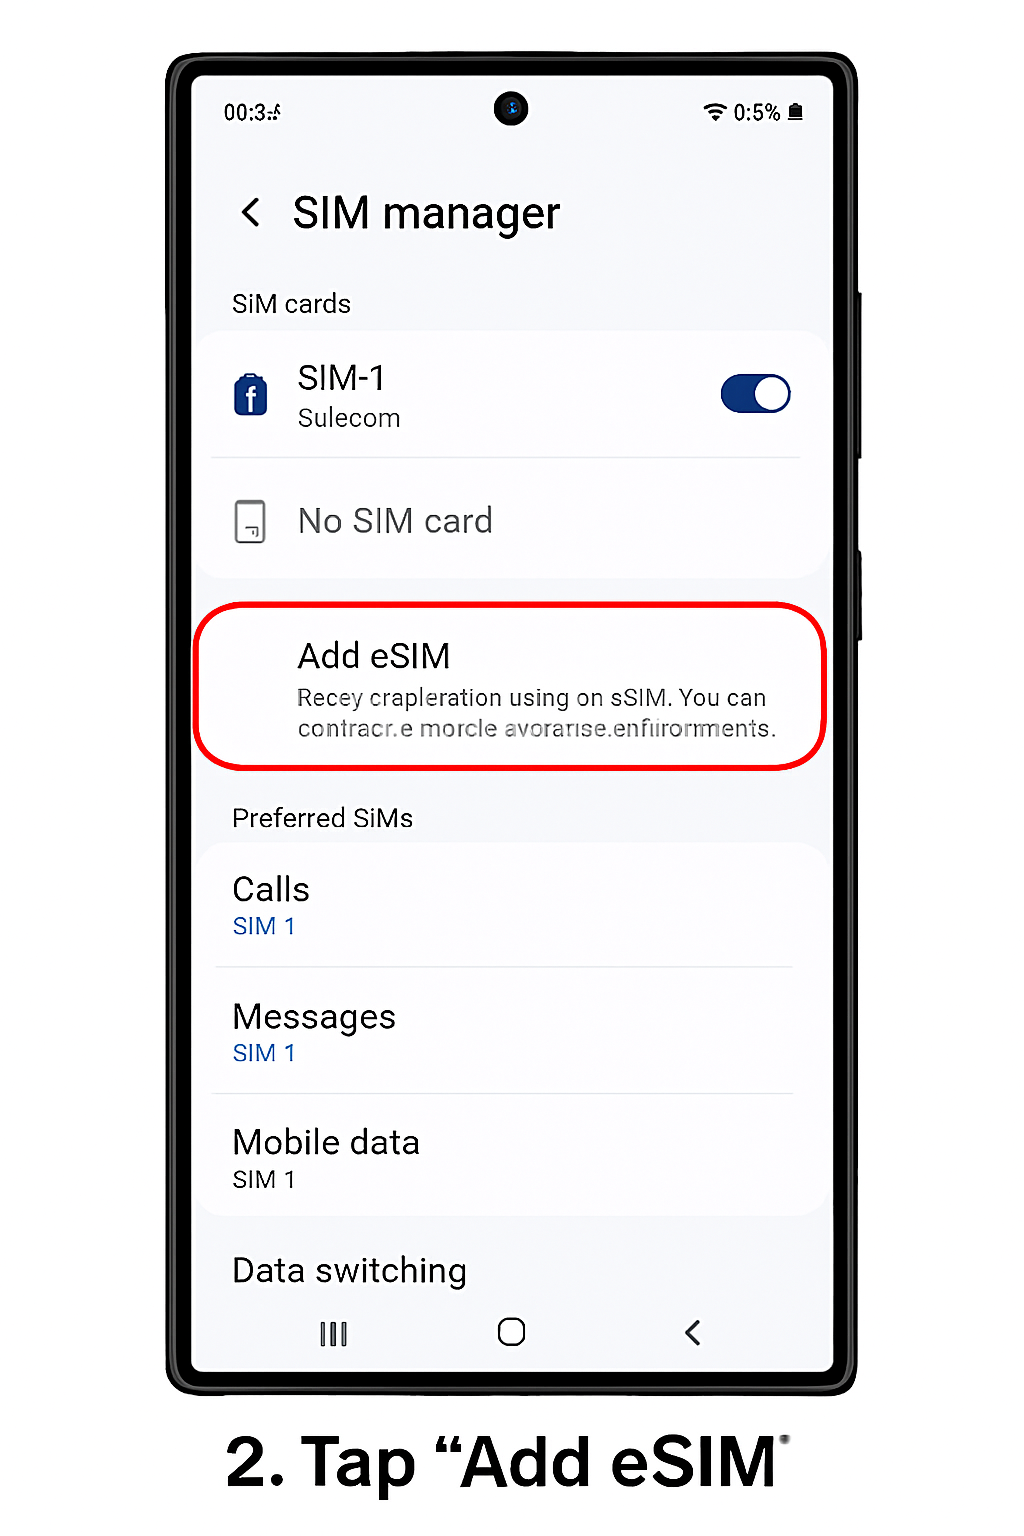
- TAP SIM manager.
- ENSURE that the eSIM is enabled. If not, toggle it ON.
- TAP Mobile data and SELECT your eSIM.
Connect to the Supported Network:
- GO to Settings.
- TAP Connections.
- TAP Mobile networks.
- TAP Network operators.
- TAP your eSIM.
- DISABLE Select automatically.
- SELECT the network specified in your eSIM's Access Data information.
Update the APN settings (if necessary):
CHECK if you need to modify the APN on your device by opening the esimzon app and viewing your eSIM instructions.
- GO to Settings.
- TAP Connections.
- TAP Mobile networks.
- TAP Access Point Names.
- TAP your eSIM.
- TAP Add.
- ENTER the new APN in the APN field.
- TAP OK.
- ENTER esimzon as the APN's label in the Name field.
- LEAVE the other fields blank.
- TAP the three-dot menu in the upper right corner.
- TAP Save.
- ENSURE that the added APN is selected.
Enabling Data Roaming (if necessary):
CHECK if you need to enable Data Roaming on your device by opening the esimzon app and viewing your eSIM instructions.
- GO to Settings.
- TAP Connections.
- TAP Mobile networks.
- TOGGLE Data Roaming ON or OFF.
After correctly following the instructions above, your esimzon eSIM should be successfully connected to the internet. If you need more assistance, please contact our support team, and we'll be happy to help.